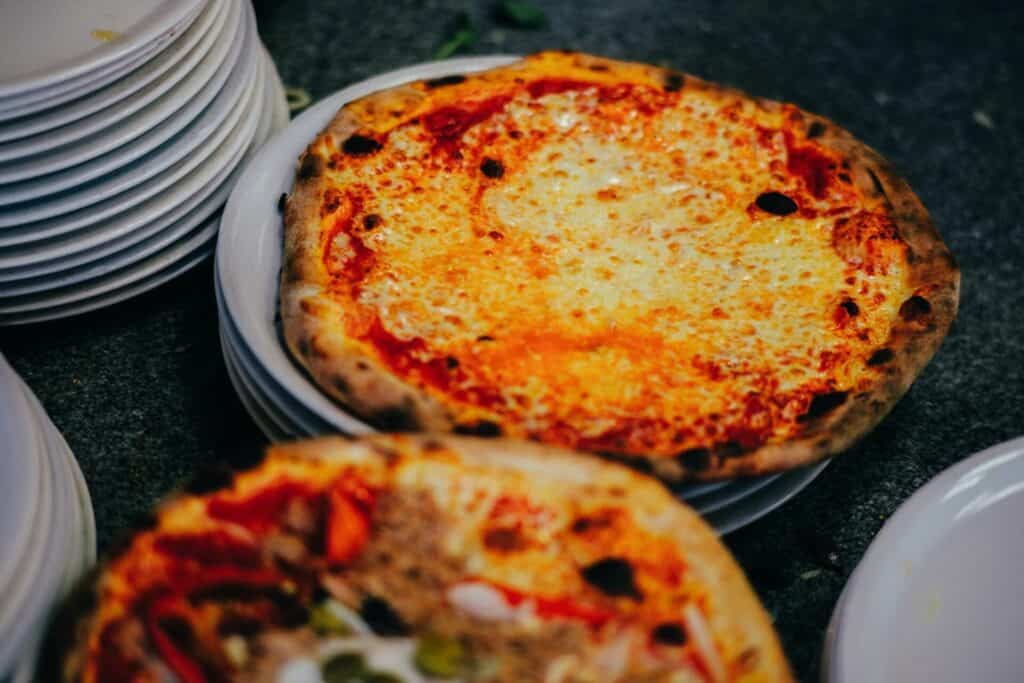
Pizzas come in all shapes and sizes, and it’s known that the crunchiest crust can be achieved only on a specialized stone surface. But before you go out and buy one, let’s answer – can you put a pizza stone on a grill and prepare your favorite meal out in the open.
Can you put a pizza stone on a grill? You can put a pizza stone on a grill. You just need to be careful that the heat is even across the surface of the pizza stone so that your pizza cooks evenly. If one side of the pizza stone is significantly hotter than the other, it will cause your pizza to cook unevenly and could end up with an overcooked or burnt crust.
Trust me when I say that, if you love pizzas as much as I do, owning baking stones is a must in your kitchen inventory, as it imitates the stone baking oven. Once you obtain it, it will be hard to refrain from making the cheesy, crunchy food slices at all times throughout the day. But you’ll also have to take good care of it, so it doesn’t explode while using it over the flame.
Can You Put a Pizza Stone on a Grill? You Can, but Perhaps It’s Best to Use a Steel Surface
Whether you are using a gas or charcoal grill for cooking food, you will have to be careful while placing your pizza stone on top of it. The results of baking will be mouthwatering, but it will be to no avail if the surface for baking cracks and becomes unusable. If you are afraid you will destroy your ceramic by using it directly over the flame, you can buy a steel surface for baking. The other choice is to inquire about stones that the specification claims can be used on overheated surfaces.
Avoid Cracking Your Pizza Stone by Preheating It on the Grill on Time
The main advantage of a specialized surface for baking is that once it gets heated, the temperature lingers, thus allowing the dough to be baked in the most perfect way. It’s best if you use it in an oven, but in order to use it over an open flame, you will have to preheat it. Do it in these steps if you’re grilling on gas:
- While your grill is off and still cold, position the ceramic grilling tray on top of the grates.
- If you plan to cook additional dishes besides pizzas, position the ceramic off to either side of the grates.
- Check on time to ensure that the grates are cool before you lower the ceramic on top of it. Combining a cool ceramic on a hot surface can cause it to get damaged and break. Besides the obvious inconvenience (especially if you have guests,) it can get dangerous. The thermal shock may cause the ceramic to explode, and small shards can hurt someone standing near.
Freely use your ceramic over the flame when you preheat it and achieve the wonderfully golden brown crispy crust with the toppings that have melted in perfect unison.
Cooking on Charcoal Is Perhaps One of the Best Recipes for the Taste
A charcoal grill has its own advantages, although it’s a bit trickier to use. But nothing beats the smokey flavor you get off a real flame. It also requires a bit different approach if you want to preheat your ceramic tray, as you will need to access the embers to arrange them.
Start by positioning the tray on the grates while they are cool, so before you light up the coal. If you have a chimney and you’re using it to start the fire, you can put the ceramic near it to heat it up gradually with the grates. Right after you spread the embers under the grates evenly, position the ceramic on top of the grates for easy access. You can then lower down the hood to keep the temperature.
Grill for a Minute, and Add Roasted Garlic Cream or Any Toppings You Like
While the traditional recipes for baking the dough include adding any toppings right away and then placing the pizzas on the grate or in the oven, try another way. Once you’ve preheated your ceramic, position the dough on top of it and cook it on that side. Remove it from the grates (it will take more than a minute, though,) flip it and add toppings to your liking.
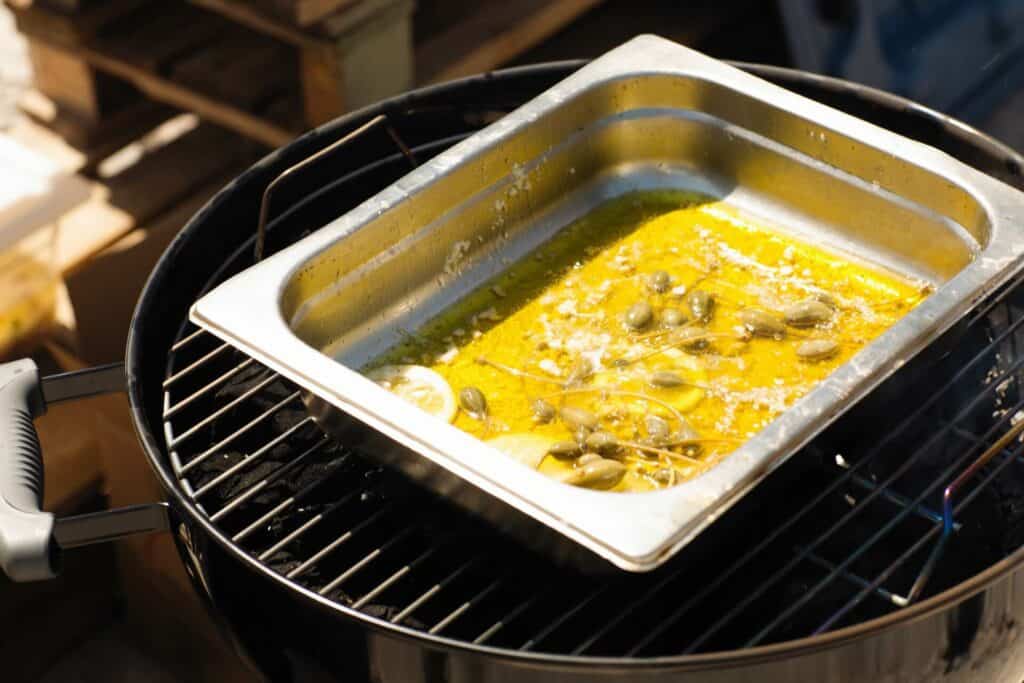
Here’s an excellent cooking idea – roast the garlic (you can envelop it with tin foil and place it on the grates over the embers) and prepare the cream sauce. You should add warm milk into a mixture of butter and flour, stir until it achieves thickness, and season it with roasted garlic cloves and shredded Parmesan. That is one of the tastiest recipes for all garlic lovers.
If you don’t want to simply roast the garlic but add additional flavor, you can see how Frankie Celenza prepares it in the following video.
Use the Steel Trays if You Don’t Want to Damage the Ceramic Ones While Cooking
If you’ve never used a steel tray to cook and bake (and never seen one, either,) these steels are metal slabs that you can use for various baking. Pizzas, cookies, bread, you name it – it’s a perfect tool for your oven. Some people even prefer them, as metal is a far better conductor of heat than ceramic, and because of it, steels will provide a hotter surface for baking. And because no damage can be caused to them from the heat, they are perhaps more suitable to place on a hot surface.
The Difference in Heat Between These Two Trays
Let’s examine the table below and acknowledge the differences between steels and ceramics meant for baking.
| Type of tray | Oven temperature of 550°F |
| Ceramic | A classic pizza ceramic stabilizes at around 500-525°F |
| Steel | Steel tray stabilizes at around 450°F-475°F |
According to this comparison, you can see that steel gives off more heat than ceramics, and thus cook the dough faster.
Once You Try Grilled Pizzas, You Will Never Be the Same
If you are handy with a ceramic, you should definitely try it over the flame. Just make sure you stick to the preheating advice to avoid losing your favorite piece of kitchen hardware. However, if you are afraid to experiment with it, freely use the steel tray. Once you get the hang of it, everyone will be asking you to prepare the perfect crusty pizzas whenever the weather allows it.