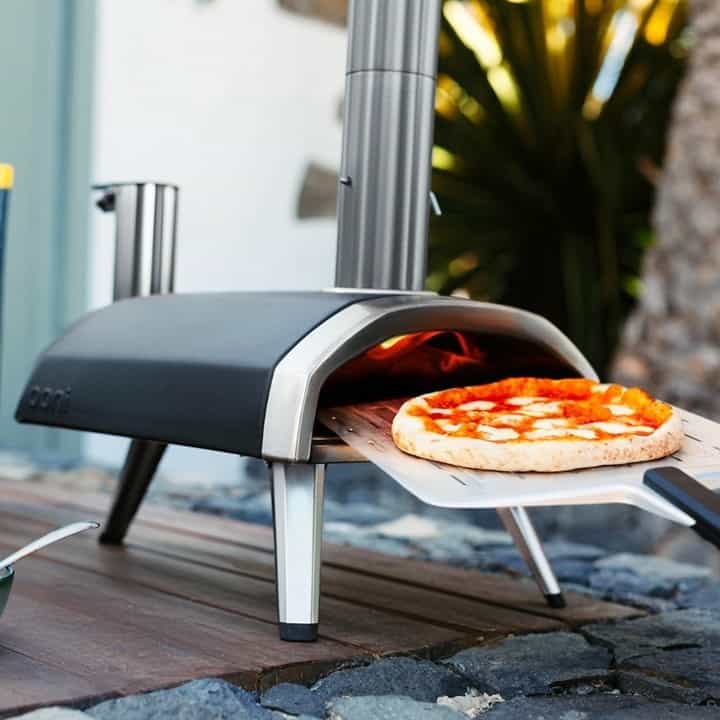
There are few possessions I love more than my Ooni pizza oven. I’ve always wanted a high-quality oven that could best recreate some of the pizzas I had the luxury of sampling during my school days in Italy, and my stove-oven combos traditional in North America just never cut it.
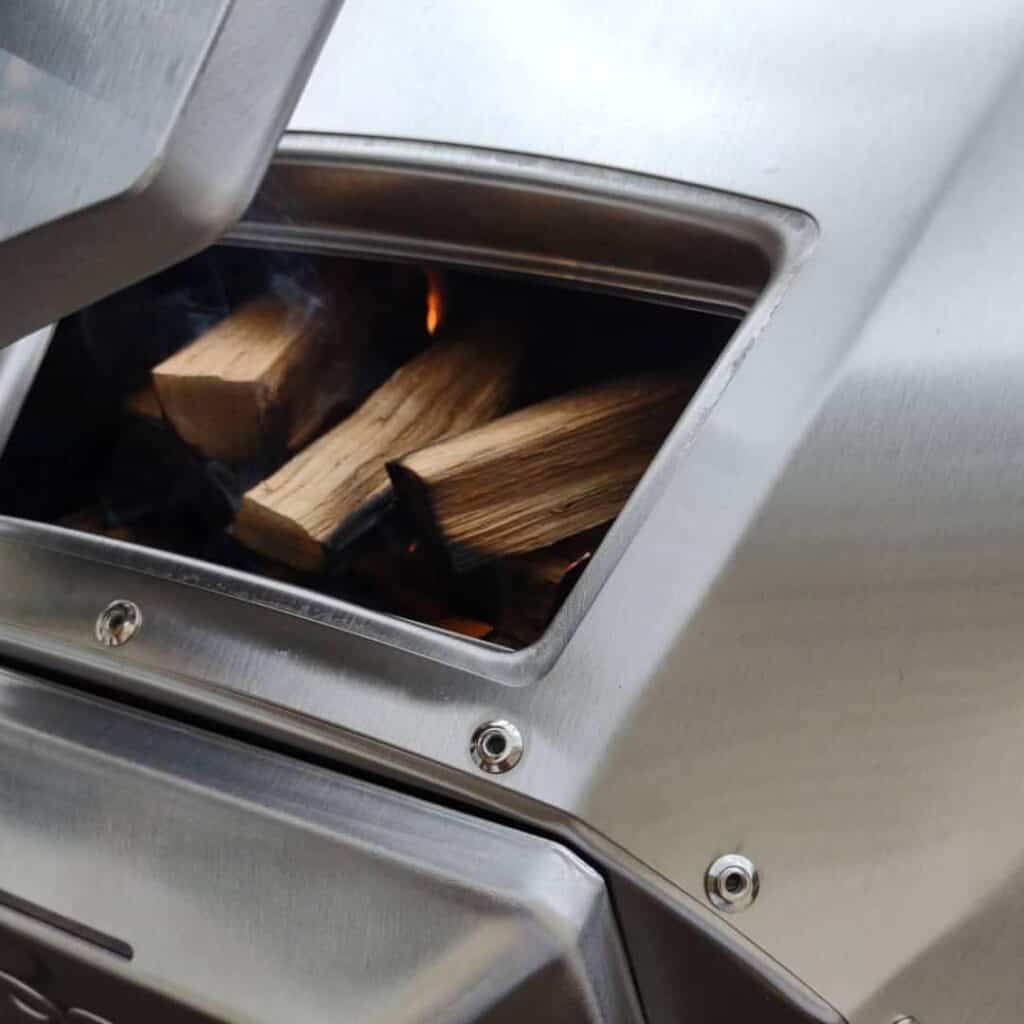
To properly light an Ooni, the most important thing to remember is to have the charcoal in and the doors in place to properly catch the intense heat that’s going to be produced. Remember, these things are meant to be able to cook pizza in under a minute in some cases, so controlling the heat is crucial.
But there’s a lot more to it than that. In this post, I’ll walk you through some helpful tricks and tips you can use while working with your Ooni to help you get the best results.
Best Advice for Lighting and Using an Ooni
Let’s start with some advice when it comes to dough. There are important things you can do with your dough to make it turn out better long before you fire it up. Such as:
Great pizza comes out of great dough. So here’s some things you can do to ensure a perfect crust every time.
- Plan ahead. Always leave plenty of time to let the dough rise sufficiently on its own, and also to cool and warm again before shaping it. You’re going to want at least four hours of grace time to let it sit in the fridge, but that could last as long as a full day.
- If you can’t use the recommended 00 flour that works best with Ooni ovens, aim for a 50/50 blend so you still retain some of what makes 00 flour so important.
- Using a pliable dough that’s easier to work with on a peel is a great first step for amateurs.
Now that you’ve decided on a dough recipe that’s right for you, and prepped it correctly, it’s time to get ready to stick it in the oven. Here’s what you’ll need:
- A laser thermometer comes highly recommended. It’s the best way to get an instant sense of just how hot the pizza stone is.
- Typically, wooden peels are best for transferring your pizza into the oven.
- Using two peels is often better, as it’ll help keep the dough from becoming too soft too fast.
- I personally use a digital scale to measure things accurately. If you feel you can live without, I’m sure you’re correct, but I prefer my baking to be closer to science than art.
As you’re prepping the pizza, there are a few tips that can help you as well.
- Smaller pizzas are simply easier to manage. Not only that, they allow you to diversify your toppings if you have several guests who tend to argue about such matters.
- Generally, one-fourth of a pound of dough is enough to make the perfectly sized pizza. You can always do more, but be prepared for the extra care you’ll need to handle it with.
- Leaking sauce is a serious problem that will lead to your pizza sticking to the stone. Not only will it ruin the pizza, it’ll make cleaning the stone a real pain. Check for any holes before putting the dough in.
- When it comes to toppings, I’ve often found that less is more. You can always add and remove while experimenting, but stick with your favourites.
- Toppings should also be at room temperature.
- Shred cheese by yourself. Pre-shredded cheese can cause the pizza to burn easily.
Now you’re ready to heat the oven. Here’s what you need to do.
- Allow the oven 15 minutes, at least, to properly pre-heat.
- Using the laser thermometer, point it at the center of the stone and wait until it reaches at least 750 degrees fahrenheit.
- In between pizzas, it’s important to allow some grace time to allow the stone and the oven to reheat. Some of the heat has been transferred to your pizza.
- Ensure that your peel is clean, dry and preferably lightly dusted with flour to guarantee easy transfer.
- Jiggle the raw dough on the peel, get a real sense of whether or not it’s still sticky. If it is, dust with more flour.
- NEVER walk away from your oven when you’re cooking. I’m talking about a matter of seconds here, so you need to be on your feet when using an Ooni.
Following these steps has guaranteed me a great pie every time.