Neapolitan pizza is a classic Italian style of pizza making that focuses on simple ingredients and creating a high-quality handmade pizza dough. The style of making Neapolitan pizza hails from the city of Naples (hence the name). The most important part of making a great Neapolitan pizza is the dough, and making great pizza dough all starts with one small ingredient- ye ast! So what is the best yeast for Neapolitan pizza dough?
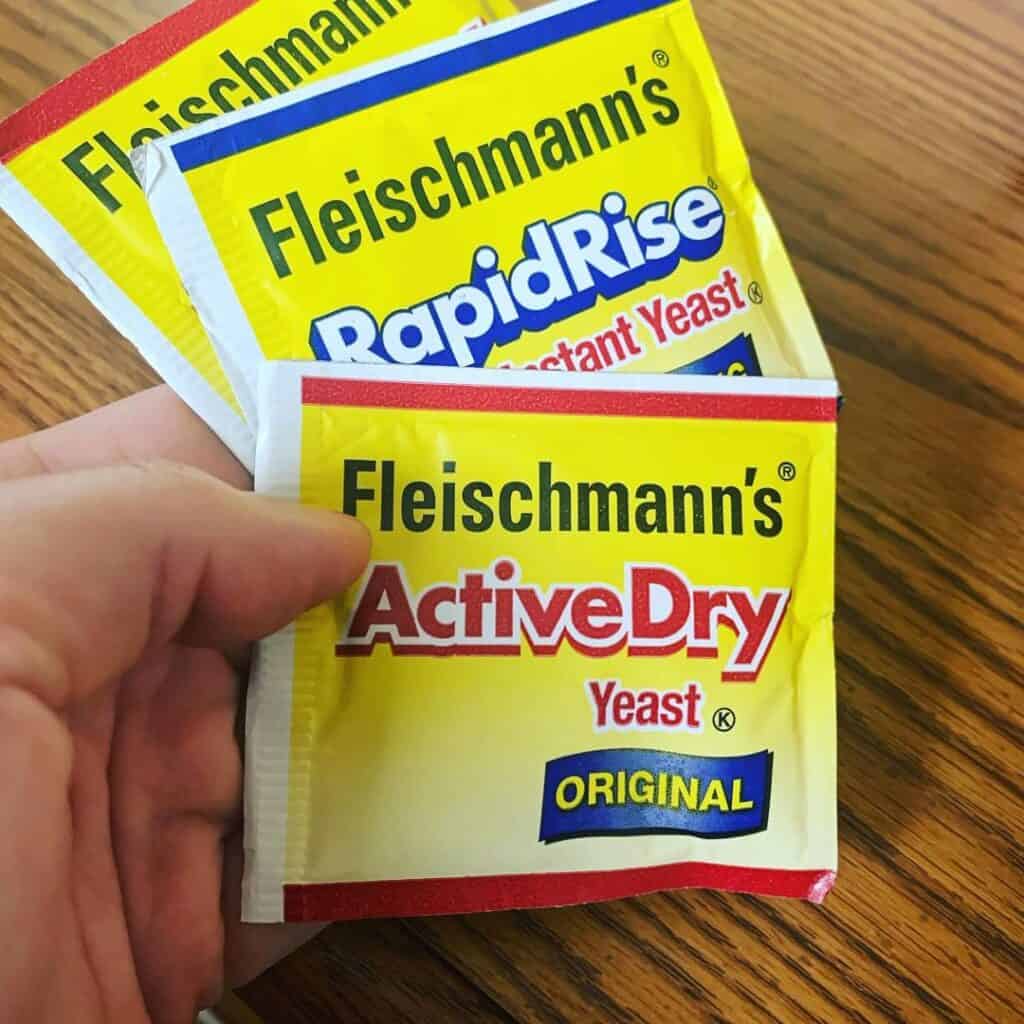
The best all-around yeast for Neapolitan-style pizza is Fleischmann’s Yeast. It’s an instant dry yeast that comes in small quarter-ounce packets that make for easy measurement. Fleischmann’s has been making high-quality yeast since 1868 and has become an industry-standard in the restaurant industry, which is easy to tell with its 4,000+ satisfied customer reviews on Amazon.
In today’s post, I’m going to break down the key reasons why using high-quality yeast is important if you want to make a great pizza dough and explain the difference between using a dry instant yeast like Fleischmann’s verus using a traditional live yeast alternative. Finally, I’ll give you my step-by-step recipe for making an amazing pizza dough that will result in the best pizza you’ve ever had!
Why Yeast Is So Important For Neapolitan Pizza?
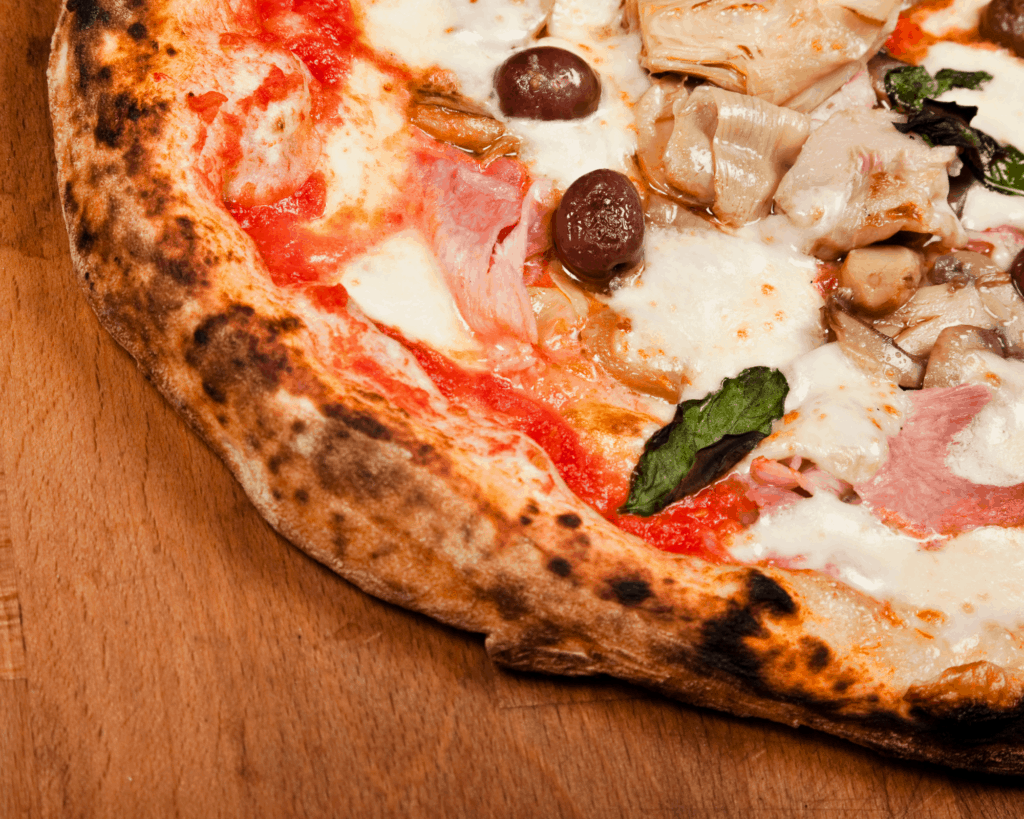
Ask any experienced pizza chef what the key to the perfect slice is and they’ll all say the same thing- the crust! While many of the other ingredients typically found on Neapolitan pizza are the same (mozzerelle cheese, tomato sauce, basil), the flavor, texture, and consistency of the crust is the main thing that varies from one pizzeria to another.
So, what’s the trick to making a great pizza crust? We’ll give you a hint- it’s the smallest ingredient in the entire recipe, yet the whole recipe depends on it. If you haven’t figured it out already, it’s the yeast! The yeast is what activates the pizza dough and causes it to rise and form those distinctive bubbles that give the pizza crust that perfect consistency.
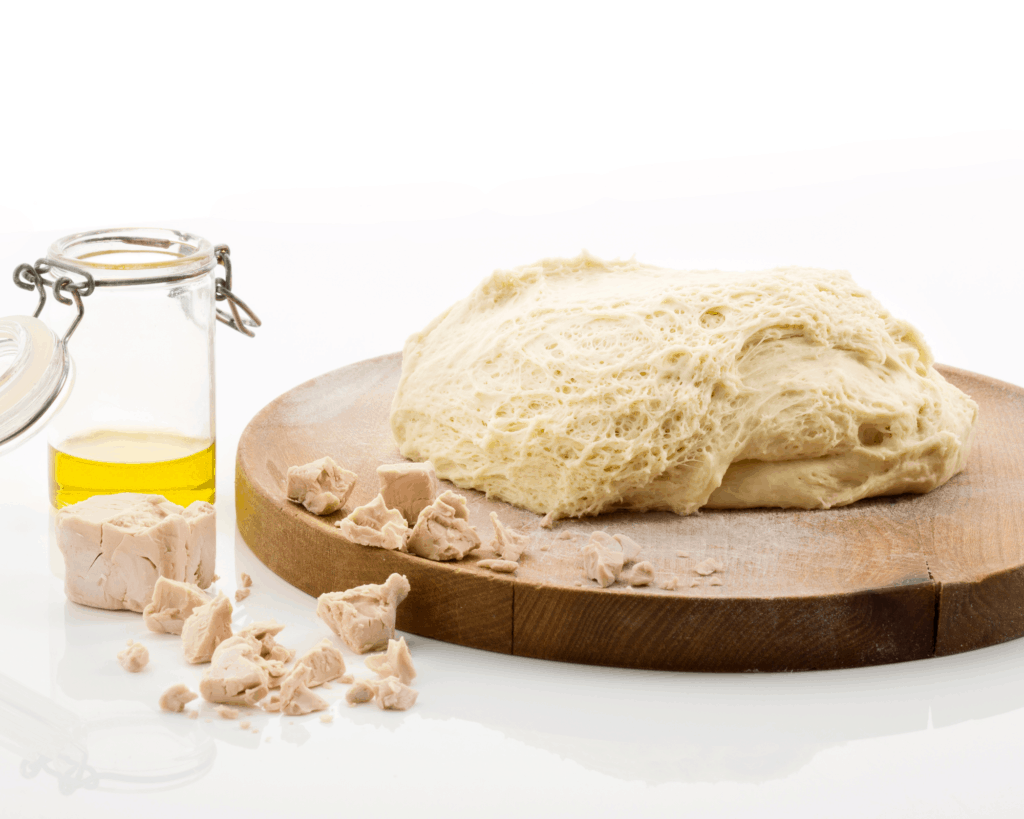
Live Yeast Vs. Dry Yeast
Now, you have come across some YouTube tutorials where the chef uses a “live” yeast make their pizza with. Typically, this produces the same results as using dry yeast in your mixture. The main reason why some chefs prefer the live yeast option is that it’s a bit more traditional and more organic.
However, the problem with the live yeast is that it’s highly perishable, which means that you only have a short window of time to use the yeast in. If you’re not able to use the yeast within that short window of time, then it won’t activate in the dough and the texture will be bad. The worst case scenario is that it could make somebody sick. This is why I typically prefer to use a pre-packaged dry yeast like Fleischmann’s.
How To Make The Best Neapolitan Pizza Dough
So, now that you know a little bit more about why yeast is so important to the pizza making process, it’s time to get into the fun part. Growing up, I had an uncle who grew up working in New York pizzerias.
He had long since retired by the first time that I ate his homemade pizza, but he had taken several of the recipes with him. I was lucky enough to copy a couple of them for myself! Here’s my all-time favorite pizza/crust recipe for an authentic Neapolitan-style pizza (which goes beautifully with a dry rose or champagne on the side).
Tip #1: Weigh Out Your Ingredients
Let me start by saying that you should always weigh your ingredients on a food scale instead of relying on volume measurements. Flour can vary significantly from one brand to another, and having the right weight is crucial to creating a great consistency.
Ingredients
For this dough recipe, we’ll be using the following recipe to ensure that it cooks beautifully in your woodfire or traditional oven:
- 20 ounces of King Arthur all-purpose flour (the closest to Italian “00” style flour).
- 13 ounces of water.
- .3 ounces of yeast (around 2 teaspoons).
- 4 teaspoons of Kosher salt.
Step 1: Proof The Yeast
Your first real step is to proof the yeast. Essentially, you’re just “waking it up.” This is done by placing your yeast in warm water (not cold or hot, around 100-degrees F). If the water is too cold, the yeast won’t wake up, if it’s too hot, then it will kill the yeast, and your crust will be less than satisfactory, no matter how great your new brick oven pizza is!
So, you might warm up your 13 ounces of fresh water (I don’t like using tap water) in a pot just until its warm enough to dip your finger in without it burning. Then, pour your water in a mixing bowl and let it sit with the yeast for about 5 minutes. Make sure that you wisk the mixture well.
How Do I Know When The Yeast Is Ready?
Once the mixture of water and yeast starts to bubble and appear frothy, it’s ready.
Step 2: Make Your Dough
Once the yeast is finished proofing, mix in your 20 ounces (about 4 cups) of flour and the 4 teaspoons of salt (which gives it flavor). If you have a stand-up mixer with a dough hook, that’s the best option. If not, then you’ll need to put a wooden spatula and your arm muscle to work until the dough is complete.
What If The Dough Isn’t Coming Together?
If the dough is too watery, then you can fix this by adding a little bit more flour in small increments. If the dough feels too dry and crumbly, then add a tablespoon of water at a time until the mixture is smooth.
Step 3: Let The Dough Sit
Once your dough is the right consistency, then form it into a ball, place it in a bowl, and cover with plastic wrap. You’ll want to let it sit out overnight in a relatively warm room. Technically, you can cook the dough after just an hour or two of sitting out, but the crust tastes far better when you let it sit out overnight!
Step 4: Work The Dough With Your Hands And A Rolling Pin
When you take your dough out the next day, it should have doubled in size as the yeast did its job. Now for the fun part- kneading it. You’ll want to throw some flour on a pizza stone, metal pan, or stone countertop, place your ball of dough down and roll it out. You don’t have to get all of the bubbles out. In fact, I try to leave a couple of bubble in the dough to create the perfect texture.
Then, you’ll fold it back in on itself like a towel and knead it down with your hands. Your hands should slowly press the ball into a circular shape with a slightly raised border for the edge of the crust.
Final Step: Add Your Toppings And Bake!
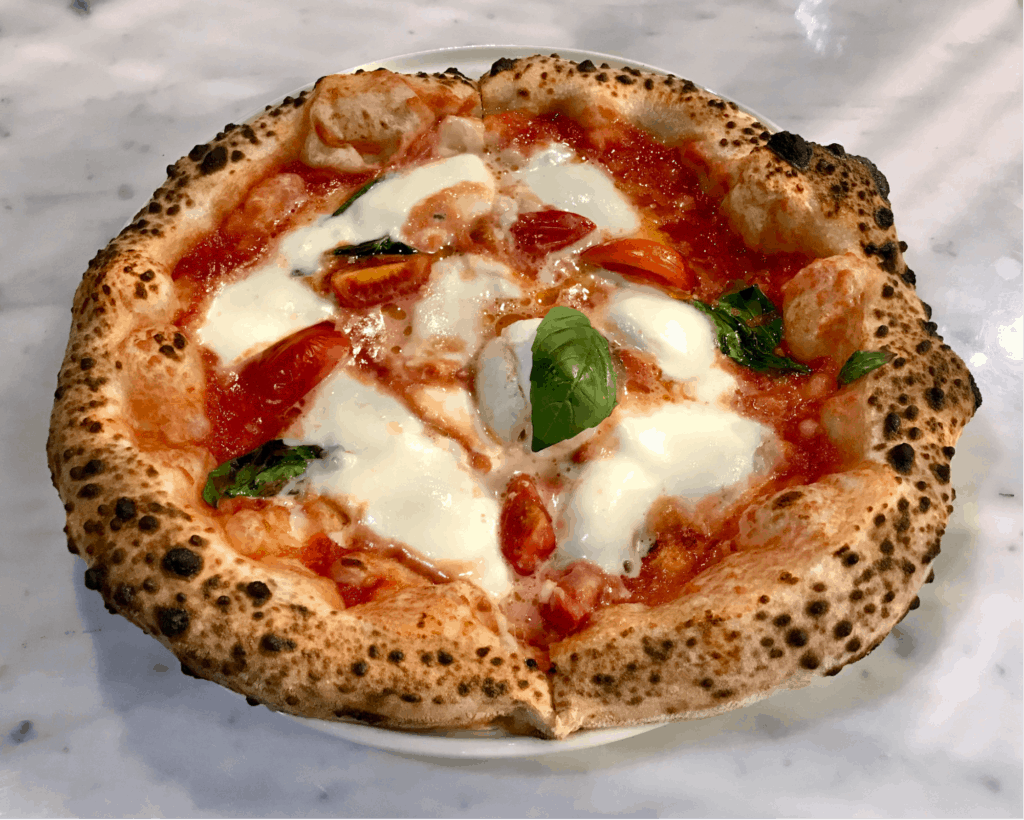
Now, your pizza dough is done! The last remaining step is to add your toppings:
- Fresh tomato sauce.
- Fresh mozzarella cheese.
- Fresh basil leaves.
- Sliced pepperoni (optional).
Don’t slather the toppings on. Rather, try to do a light coat of each. Optimally, you should be able to look down at the pizza and see all of your ingredients. The cheese shouldn’t fully cover all of the tomato sauce and the toppings shouldn’t cover all of the cheese.